|||
|||
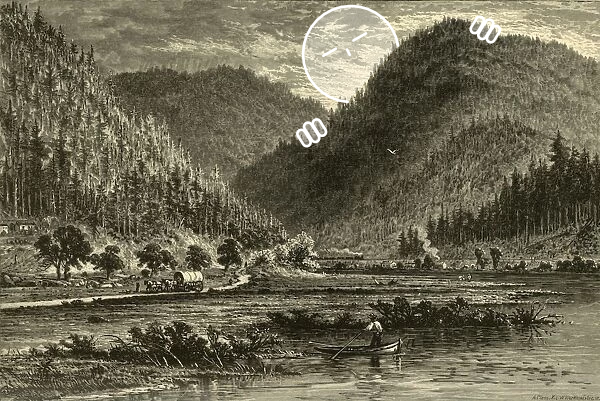 Tyrone Gap, View from Bridge. Artist Unknown, 1874
I grew-up, and currently live, in Southern Appalachia, it’s a big part of who I am. My childhood was spent on the sides of hills, up to my knees in creeks, and crawling around in rhododendron thickets. This growing-up has made me keenly aware of the lack of mountainous modules in the OSR space, so like Rasp and ocean modules, my next adventure is tentatively a “mountain-crawl”. I consider a “mountain-crawl” a hexcrawl that focuses on hiking/mountaineering. I’ve been figuring out this module for the past year, or so, and it should be finally making its way to paper after Pilgrim’s Passages drops.
Now onto the generation. A few years ago I worked up a system for generating elevation built on the back of Charles Ferguson-Avery’s Into the Wyrd and The Wild’s wilderness hex generation rules. I’ve shared this technique with some friends in the scene before but never actually written it down and published it, so here it is.
The steps to randomly generate a “mountain-crawl” dungeon are roughly as follows.
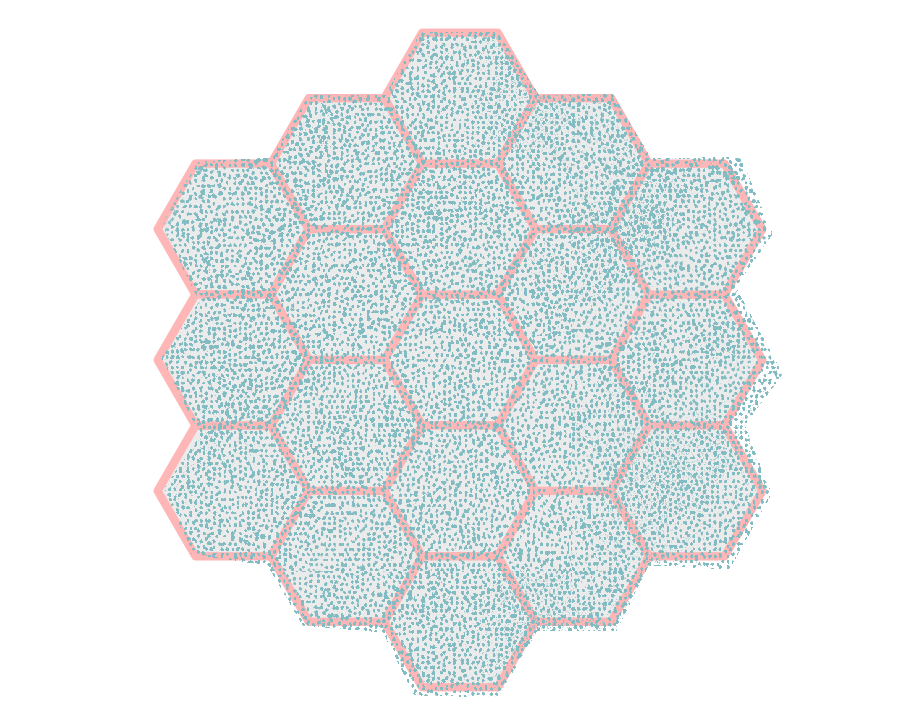 A five mile hex.
 Here I dropped 12D6. You can see the results above.
Drop a number of d6s onto the hex to determine the elevation. Each die is a peak and the face of the dice determines the elevation by multiplying the value by 500ft. If you want a dense mountain range drop 15+ if you want something less dense shoot for 6-10.
 Above I drew my topographical lines. You can see that I surrounded higher rolls with the elevation of lower rolls. This creates a natural gradient in elevation.
There is a certain feel for this you will get after generating a few times. Essentially start with the highest peak and work your way down, incorporating shorter peaks into ranges when it makes sense. You want to avoid a bunch of cones shooting up into the air.
 I just randomly chose my entrances for this example. For an existing map I would try and continue Routes from existing hexes.
Entrances are where Routes, from one hex to another, connect.
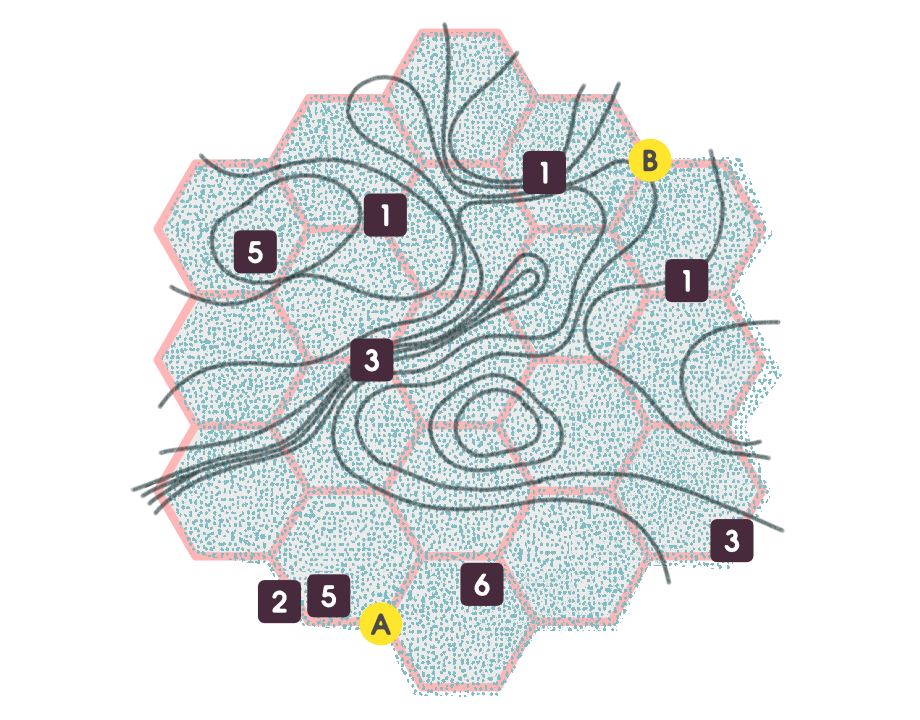 Here I rolled 9, so I dropped 9D6 and this was the result.
Roll 2D6 to determine the amount of Locations within the hex. Then drop that many D6 to determine the positioning and type of Locations within the hex. The dropped die is the first D6 in the 2D6 used on the table below. I then roll a second one off to the side. Number each of the Locations and note the result from the Location Table next to the number.
| 2D6 | Grade |
|---|---|
| 2 | Dungeon |
| 3 | Camp |
| 4 | Nest |
| 5 | - Natural Wonder |
| 6 | Landmark |
| 7 | Omen |
| 8 | Sign |
| 9 | + Natural Wonder |
| 10 | Dwelling |
| 11 | Shrine |
| 12 | Town |
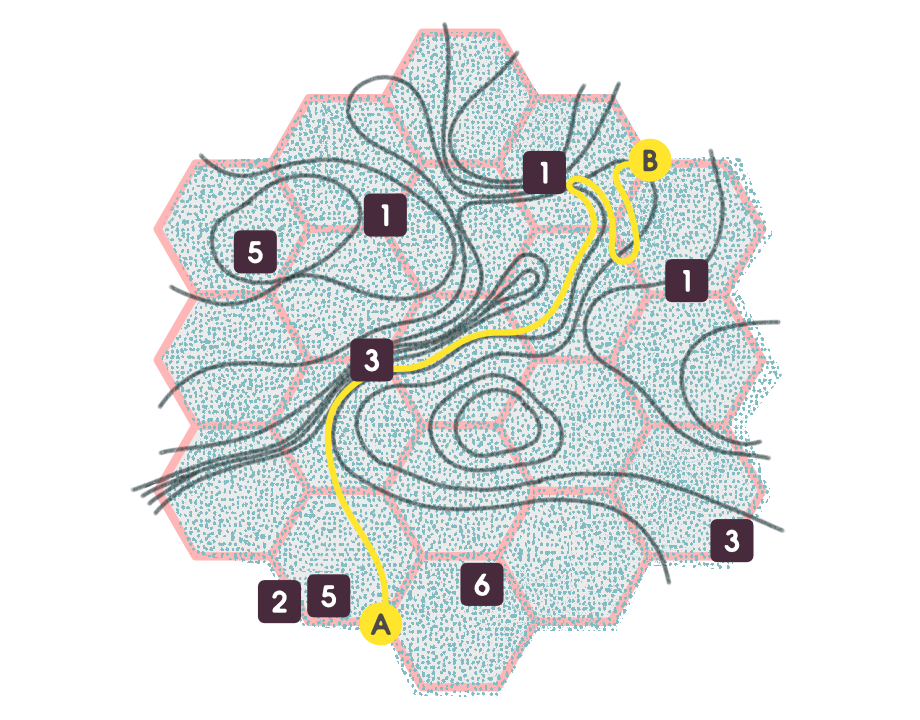 Above I connected the two entrances. I always try my best to follow the topography. Keep in mind that you need to create switch-backs or “dog-legs” to climb in elevation.
Entrance routes are called Main Routes.
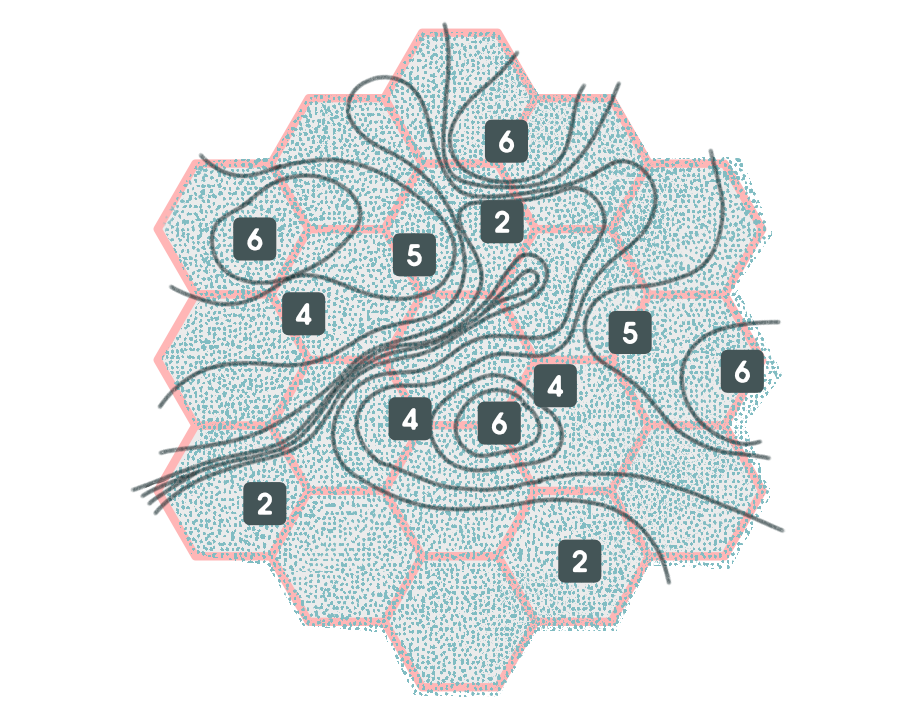
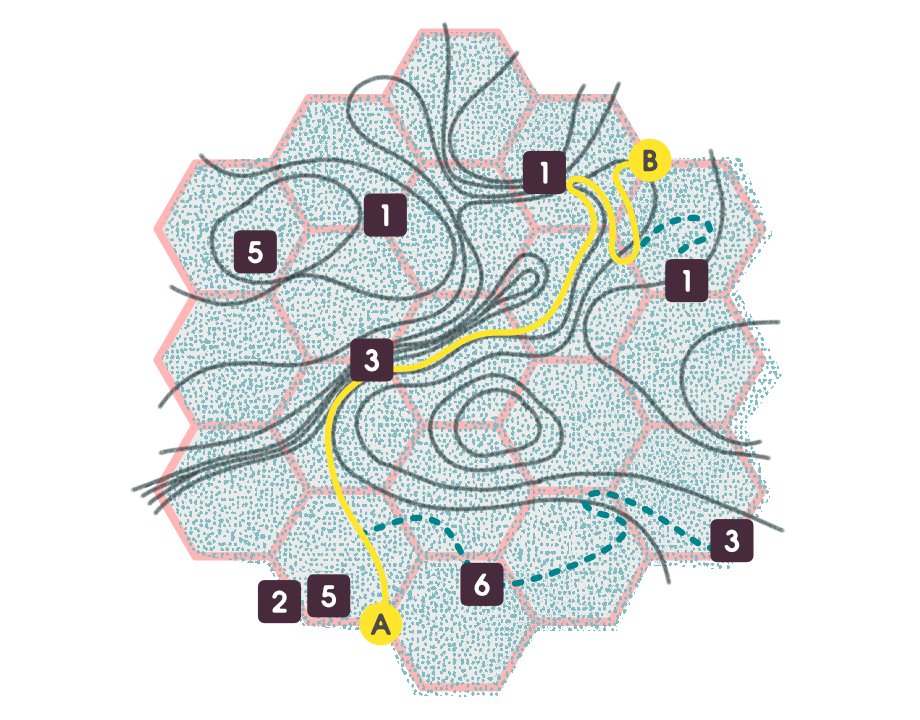 Our finished map! I love the ravine we got on this one, as well as the clusteringg of locations on the flatter terrain to the South.
Routes will be expanded upon in Pilgrim’s Passages. Until I release that though here’s a simple table: